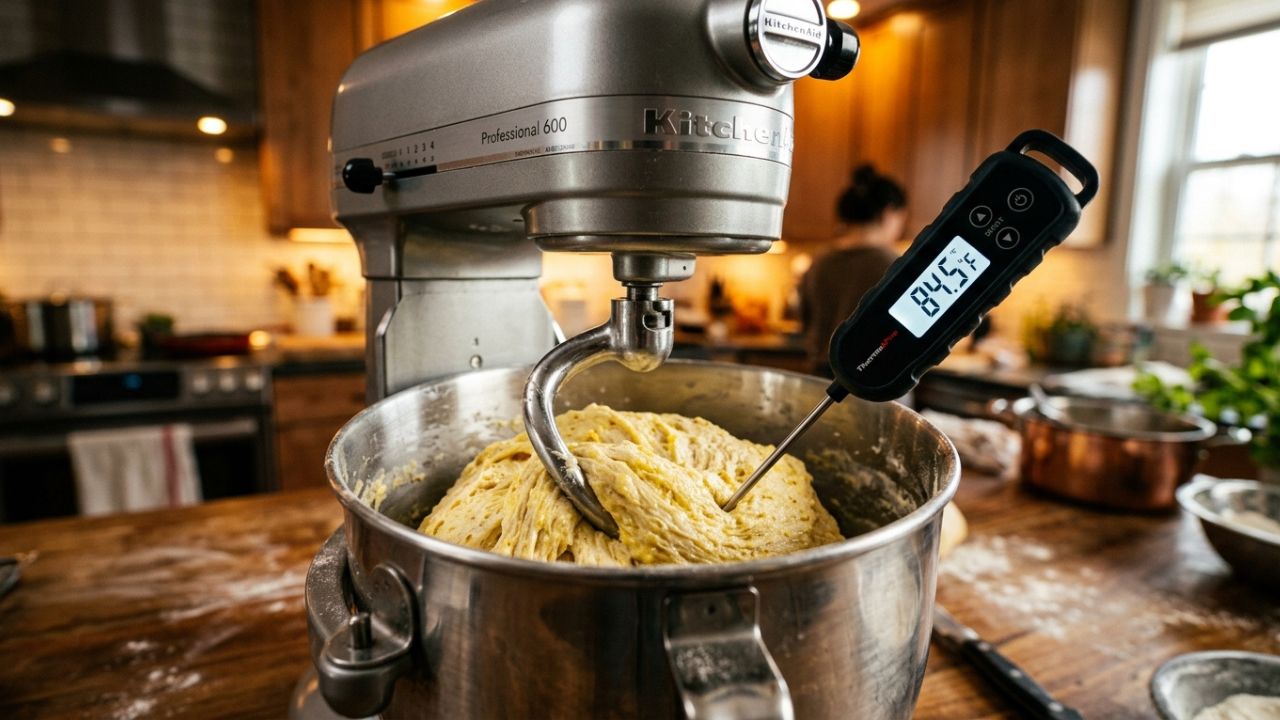
For most bread doughs, use the dough hook on the lowest speed for one to two minutes until everything is combined, then move up one notch and mix for another four to eight minutes until the dough is smooth and stretchy. On many tilt-head mixers that second setting is speed 2, and several manufacturers advise against going higher for yeast dough, so check your manual. Because the mixer warms the dough as it works, use cooler water than you would for hand mixing, often several degrees cooler, and check the dough temperature when you finish.
A mixer saves effort and gives a consistent result, but it works differently from your hands. Getting the speed, the time and the heat right is most of the skill.
Choosing the speed
Higher speeds don’t knead faster in a useful way. A dough hook spinning fast throws the dough against the bowl, warms it quickly and strains the motor, while the dough itself often just rides around the hook.
- Lowest speed: for bringing flour and water together without a cloud of flour. One to two minutes is usually enough.
- The next speed up: for developing gluten in most lean and lightly enriched doughs. This is where most of the mixing time goes.
- Medium speeds: occasionally used for short bursts in professional recipes for wet doughs, but best avoided in home mixers unless the manual allows it.
If the mixer starts to labour, sound strained or feel hot on top, stop and let it rest for a few minutes. The motor matters more than a few minutes saved.
How long to mix
Mixing time depends on the dough. These are typical ranges for a home stand mixer, after the dough has come together on the lowest speed:
| Dough | Second speed | What you’re looking for |
|---|---|---|
| Lean bread, 62 to 68% hydration | 4 to 7 minutes | Smooth, elastic, cleaning the sides of the bowl |
| Pizza dough | 5 to 8 minutes | Smooth and supple, slightly tacky |
| Wet dough, 75% and up | 6 to 10 minutes, in stages | Pulling away from the bowl in strands, gaining sheen |
| Enriched dough, such as brioche | 10 to 15 minutes in total, butter added late | Glossy and stretchy, holds a thin film |
| Stiff dough, such as bagels | 6 to 10 minutes, in small batches | Firm, smooth, no dry patches |
Times vary with flour, batch size and the mixer itself, so treat them as a guide. If you plan to do stretch and folds during bulk fermentation, you can stop mixing earlier, when the dough is smooth but not yet fully developed. Stretch and folds vs kneading explains how the two approaches share the work.
Checking the dough
Stop the mixer and look rather than trusting the timer.
- The bowl: a well-mixed lean dough gathers around the hook and leaves the sides fairly clean. A wet dough may still stick at the bottom.
- The surface: it should look smooth and slightly glossy, not torn or lumpy.
- The stretch: pinch off a walnut-sized piece and pull it gently between your fingers. If it thins to a translucent film before tearing, the gluten is well developed. If it rips straight away, mix for another minute or two.
Overmixing is rare in home mixers, but it can happen with long mixes at higher speeds. An overworked dough turns slack and sticky, loses its spring and can look pale. If you see that, stop and let the dough rest; it can’t be undone, but the loaf will still be edible.
Why the mixer heats the dough
Friction between hook, dough and bowl turns mixing energy into heat. A long mix at speed can raise the dough several degrees, and a warmer dough ferments faster than the recipe expects. That’s why mixer doughs so often overproof on warm days.
The fix is to start cooler. The desired dough temperature method adds up the temperatures that affect the dough and works out the water temperature that brings the total to your target. The water temperature calculator counts 10 °C of friction for a stand mixer and only 2 °C for mixing by hand with folds.
Say you want a yeasted dough at 25 °C (77 °F), and your kitchen and flour are both at 21 °C (70 °F). The calculator gives:
- Stand mixer: water at 23 °C
- By hand, with folds: water at 31 °C
That 8 °C gap is exactly the friction difference. Use 31 °C water in the mixer and the dough would come out well above target.
On a hot day the gap matters even more. With the room and flour at 27 °C and the same 25 °C target, the calculator asks for 11 °C water. If your tap runs at 20 °C and the recipe uses 350 g of water, it suggests 32 g of ice and 319 g of water. In a cold kitchen at 18 °C, the same mixer dough needs water at 29 °C. The full method, with more examples, is in why dough temperature matters more than time.
Batch size and the motor
Every mixer has a limit, and stiff doughs reach it sooner than soft ones. Check the manual for the maximum flour weight, and treat it as the limit for soft doughs only. For bagels or very low hydration doughs, mix a smaller batch or finish the last few minutes by hand.
Very small batches cause the opposite problem. A dough of 250 g of flour may slap around the base without the hook catching it. Scrape it down often, or mix small batches by hand.
Practical habits
- Add the water first and the flour on top, so dry flour doesn’t cake at the bottom of the bowl.
- Hold back 5 to 10% of the water in wet doughs and add it slowly once the gluten has formed.
- Add salt with the flour or after a short rest. Autolyse: what it does and when to skip it covers resting before mixing.
- For enriched doughs, add soft butter in pieces once the dough is already stretchy. Enriched doughs explained goes through the staged method.
- Scrape down the hook and bowl once or twice. Dough that climbs the hook stops getting mixed.
Stand mixer mistakes
- Mixing at high speed to save time. The dough heats up, and the motor works much harder.
- Using the hand-mixing water temperature. Mixer doughs end up too warm.
- Overloading the bowl with stiff dough. It strains the gearbox and mixes unevenly.
- Walking away during a long mix. Many mixers creep across the counter, and doughs can climb the hook.
- Ignoring the dough’s temperature. A quick reading after mixing tells you how fast the rise will go.
Stand mixer questions
Should I start with the paddle or the hook?
The hook works for most bread doughs. Some bakers use the paddle for the first minute with very wet doughs, then switch to the hook, because the paddle combines a sloppy mix faster. Don’t use the paddle for stiff dough.
Why does the dough just spin around the hook?
The batch is often too small or too stiff for that hook shape. Stop, push the dough down below the hook, and add a spoonful of water if it’s very firm. With small batches, mixing for the first few minutes and finishing by hand can be easier.
Is a spiral mixer different?
Yes. In a spiral mixer, the bowl turns as well as the hook, which kneads more evenly and develops gluten faster than a planetary stand mixer. The water temperature calculator counts 14 °C of friction for a spiral mixer, so pick that setting if you own one.