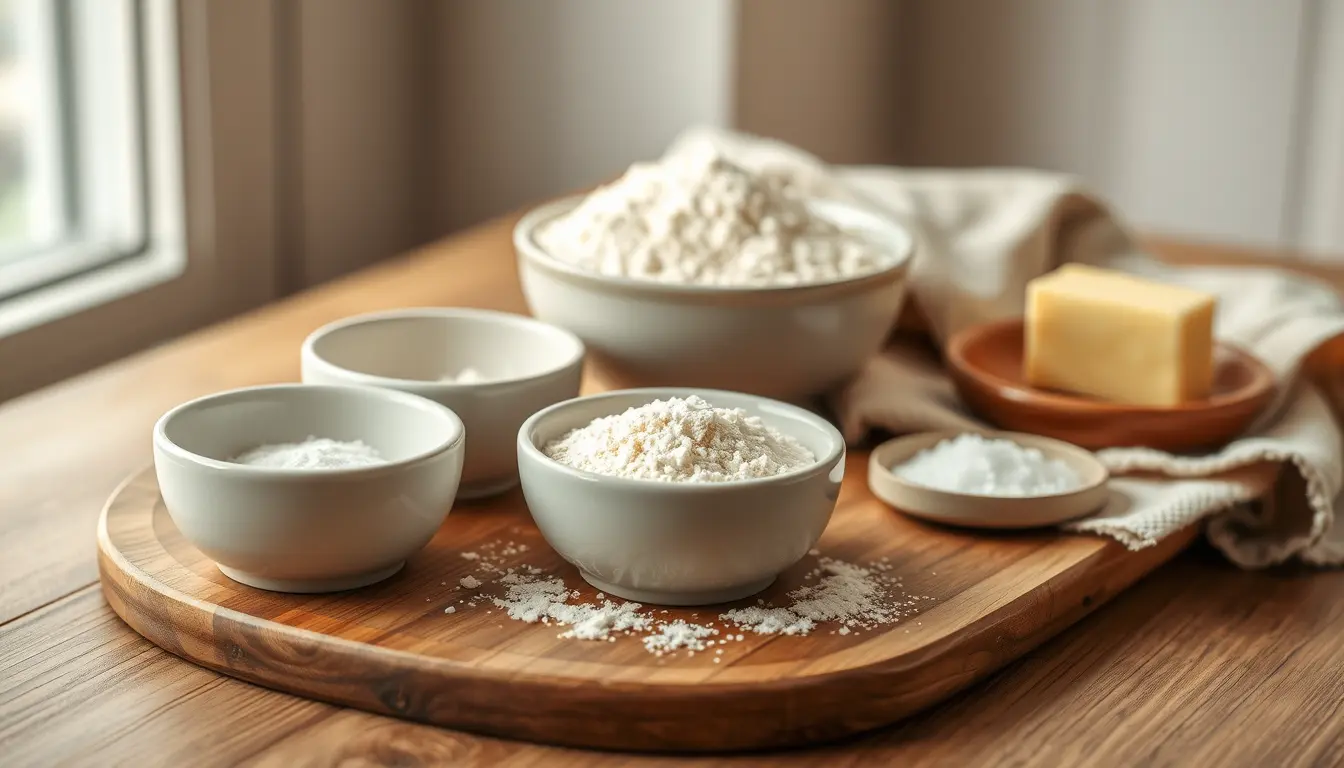
To convert a hand-made bread recipe for a bread machine, first scale it so the flour matches what your machine’s pan can handle, usually about 2 cups (roughly 250 g) for a 1 lb loaf, 3 cups (about 375 g) for a 1.5 lb loaf and 4 cups (about 500 g) for a 2 lb loaf. Those are typical figures, so check your manual. Then use instant yeast, add the ingredients in the order the manual gives, and check the dough during the first few minutes of kneading, adding a spoonful of water or flour if it looks too dry or too sticky. Most everyday sandwich breads convert well; very wet or very rich doughs need more care.
Why recipes need converting at all
Bread machines knead, rise and bake in one small pan with a fixed program. That brings three limits a hand recipe doesn’t have:
- Capacity. The pan holds a set amount of dough. Too much and it rises over the top or the motor strains; too little and the paddle can’t knead it properly.
- Timing. Each program has fixed rise and bake times. A dough that ferments faster or slower than expected can overproof or stay dense.
- Order of ingredients. On a delay timer, the yeast must stay dry and away from the salt and liquid until the program starts.
Converting a recipe means fitting it inside those limits, not changing what makes it good.
Step 1: find your machine’s capacity
The manual usually lists loaf sizes by weight, often 1 lb, 1.5 lb and 2 lb, sometimes with metric equivalents. The loaf weight is roughly the weight of the baked bread, and the recipes in the manual show how much flour each size uses. That flour figure is the one to match. Many machines take around 3 cups of flour for a 1.5 lb loaf and 4 cups for a 2 lb loaf, but some are larger or smaller, so treat these as approximate starting points.
Step 2: scale the recipe
Most hand recipes make one or two large loaves, more than a bread machine can handle. The recipe scaler brings them down to size.
Take a recipe with 4 cups of flour that you want to bake as a 1.5 lb loaf with 3 cups. That’s a factor of 0.75:
| Ingredient | Original | Scaled × 0.75 |
|---|---|---|
| Bread flour | 4 cups | 3 cups |
| Water | 1½ cups | 1 cup + 2 tbsp |
| Butter | 2 tbsp | 1 tbsp + 1½ tsp |
| Sugar | 2 tbsp | 1 tbsp + 1½ tsp |
| Salt | 2 tsp | 1½ tsp |
| Instant yeast | 2¼ tsp | 1¾ tsp |
For a recipe written in grams, enter the original flour as the “from” amount and your machine’s flour as the “to” amount. A recipe with 750 g flour, 500 g water, 15 g salt, 7 g instant yeast and 20 g butter, scaled to 450 g of flour, gives a factor of 0.6: 450 g flour, 300 g water, 9 g salt, 4.2 g yeast and 12 g butter.
Spoon measures shrink awkwardly when you scale, which is why the scaler shows results like “1 tbsp + 1½ tsp” rather than decimals. If you have a scale, weighing is easier and more accurate, as why bakers weigh ingredients explains.
Step 3: use the right yeast
Instant yeast is the usual choice for bread machines. It’s the same product often sold as “bread machine yeast”, and it doesn’t need dissolving first. If your recipe calls for active dry yeast, convert it rather than swapping one for one. The yeast converter shows that 7 g of active dry yeast is equal to about 5.83 g of instant, or roughly 1⅞ tsp. A 7 g packet of instant yeast, meanwhile, matches 8.4 g of active dry. Instant vs active dry vs fresh yeast explains why the amounts differ.
Fresh yeast isn’t a good fit for bread machines, especially on a delay timer, because it starts working as soon as it touches moisture.
Step 4: load in the right order
Follow your manual here, because machines differ. Many ask for liquids first, then flour, with the yeast added last into a small well in the flour, and salt and sugar placed in separate corners. Others reverse the order and put the yeast in first. The aim in both cases is the same: keep the yeast dry and apart from the salt and liquid until kneading begins.
If you use the delay timer, avoid perishable ingredients such as fresh milk, eggs and soft cheese, which shouldn’t sit at room temperature for hours. Use water and milk powder instead of fresh milk for delayed bakes.
Step 5: watch the first few minutes
The first time you make a converted recipe, open the lid about 5 minutes into kneading and look at the dough. It should form a smooth, slightly tacky ball that cleans the sides of the pan.
- If it’s stiff and lumpy, or the motor sounds strained, add water a teaspoon at a time.
- If it’s sticking to the sides and won’t form a ball, add flour a teaspoon at a time.
Flour absorbs water differently from bag to bag and season to season, so a small adjustment is normal. Make a note of it for the next bake. Whole wheat and rye flours absorb more water and absorb it more slowly, so give those doughs an extra minute or two before deciding to add liquid. Don’t open the lid during the rise or bake; the loaf can collapse if the warm air escapes.
Which recipes convert well
Lean sandwich breads, soft milk loaves, whole wheat loaves (on the whole wheat program) and many sweet breads convert well. Very wet doughs such as ciabatta, heavily enriched doughs like brioche, and anything that needs shaping, such as bagels or braided loaves, are better made on the dough program. The machine mixes and rises the dough; you shape it and bake it in a normal oven.
Sourdough is possible on some machines with a custom program, but standard programs are timed for commercial yeast and usually leave sourdough underproofed.
Bread machine mistakes
- Overfilling the pan. The loaf mushrooms over the top and can collapse or stick to the lid.
- Swapping active dry for instant one for one. The loaf may rise too little, or too much in the other direction.
- Putting the yeast in the liquid on a delay timer. It starts fermenting hours too early.
- Not checking the dough. A small tweak to the water in the first minutes makes the biggest difference.
- Leaving the loaf in the pan. Steam softens the crust and makes the sides damp. Remove it as soon as the program ends.
Bread machine questions
Why did my loaf collapse in the middle?
Too much yeast, too much liquid or a very warm kitchen can make the dough rise too high and fall. Reduce the yeast or water slightly next time.
Can I use all-purpose flour instead of bread flour?
Yes, but the loaf will be a little shorter and softer. Bread flour vs all-purpose flour compares the two.
Why is there a hole in the bottom of my loaf?
That’s from the kneading paddle. Removing the paddle before the bake, if your machine allows it, leaves a smaller hole.
Can I bake gluten-free bread in my machine?
Many machines have a gluten-free program with a shorter knead and a single rise. Use a recipe written for that program, since gluten-free batters behave very differently.