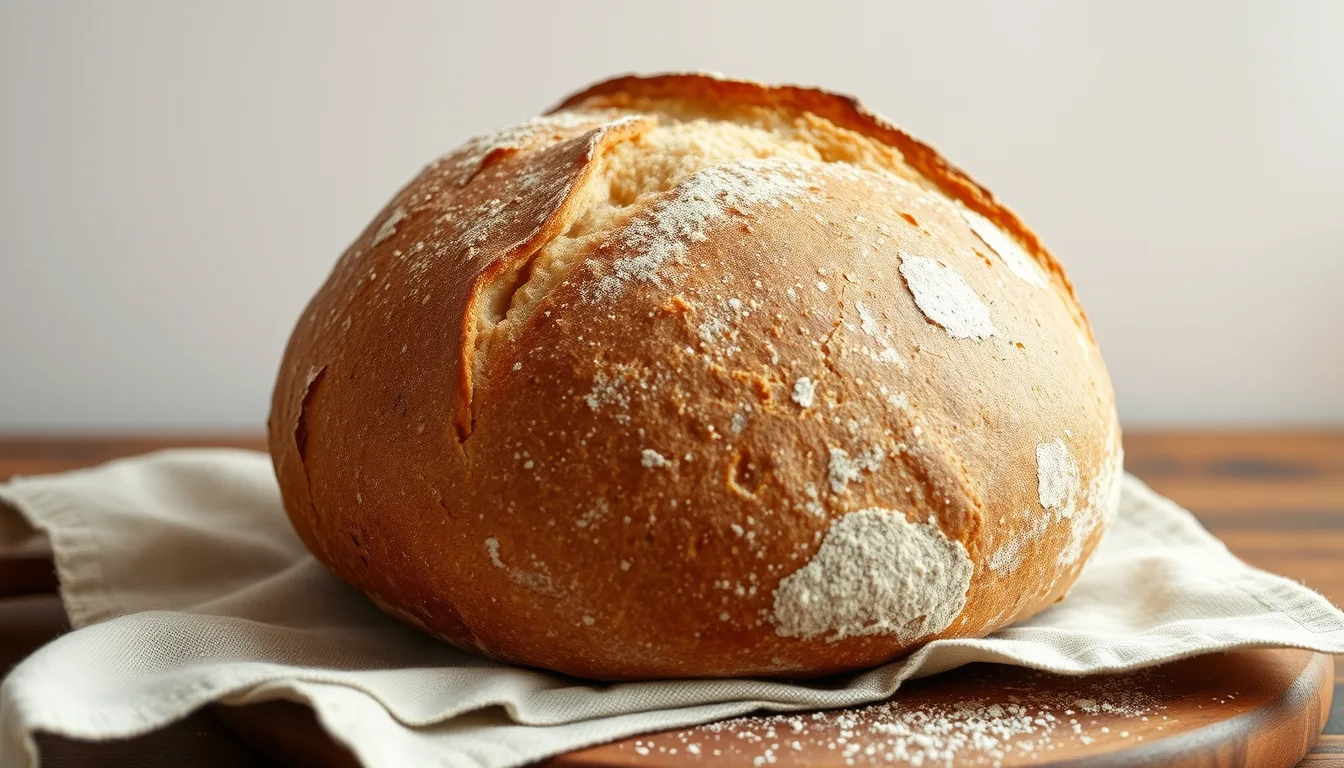
An underproofed loaf usually has a tight, dense crumb broken by a handful of big, ragged holes clustered near the top, often under the ear, and a crust that burst open wildly or split along the side. An overproofed loaf sits lower and wider, has little or no ear, often a paler crust, and a crumb that is either evenly holey and fragile or flat and compressed where the structure gave way. A well-proofed loaf falls between the two: good height, a clear ear, and holes of mixed sizes spread fairly evenly from top to bottom.
Every loaf you cut open is a record of how its fermentation went. Learning to read it tells you which way to adjust next time, and whether the problem happened in bulk fermentation or in the final proof.
Before you judge: slice it properly
A fair reading needs a fair cut. Let the loaf cool completely, at least an hour and ideally two, because the crumb keeps setting as it cools and a warm loaf smears under the knife. Use a serrated knife and cut straight through the middle, along the length of the score, so you see the whole height of the loaf from crust to base. A slice from the end shows only the edge, where the crumb is always tighter.
Look at three things: the overall shape and height, the pattern of holes from top to bottom, and the texture of the crumb itself, whether it looks glossy and springy, dull and crumbly, or damp and gummy.
The underproofed loaf
From the outside
- The loaf is tall but lopsided, with a burst or tear along the side or base rather than along the score.
- The score may open very wide and jagged, as trapped gas forces its way out in the oven.
- The crust often browns well, because plenty of sugar was left unfermented.
On the inside
- Dense, tight crumb through most of the loaf, especially toward the bottom.
- A handful of large, irregular holes near the top, sometimes one big tunnel just under the crust.
- Glossy or gummy streaks where the dough never opened up.
Those big holes are easy to mistake for a nicely open crumb in a photo. The giveaway is how they sit: clustered at the top, surrounded by tight crumb, rather than spread through the slice.
What happened
The dough went into the oven with too little gas and too little extensibility. The yeast hadn’t produced enough carbon dioxide to open the crumb evenly, and the gluten was still tight, so the heat of the oven drove the little gas there was into a few weak spots. Usually the short stage is bulk fermentation. A dough that was only short in the final proof tends to look better overall, with a decent crumb but an explosive, uneven oven spring.
The overproofed loaf
From the outside
- Low and wide, having spread on the peel or sagged in the pot.
- A flat or faint ear, and a score that barely opened.
- A paler, duller crust, since the yeast has used up much of the sugar that would have browned it.
- Sometimes a sour, boozy smell as you cut it.
On the inside
- An even, lacy crumb of similar small holes with thin, fragile walls.
- In more extreme cases, a flattened, compressed crumb where the structure collapsed and the gas escaped.
- Sometimes a large hollow under the top crust where the weakened top lifted away from the crumb beneath.
What happened
Fermentation ran past the point where the gluten could hold its gas. Acid and enzymes steadily weaken the network over time, so an overfermented dough has plenty of gas but not enough strength to keep it. It spreads before baking, rises little in the oven and leaves a crumb that is either uniformly fine and fragile or partly collapsed.
What well proofed looks like
A good loaf stands tall, with a defined ear and a score that opened cleanly. The crust is well coloured, and the crumb shows holes of different sizes spread fairly evenly from the top to the bottom, with walls that look slightly glossy and spring back when pressed. Whole grain and rye breads naturally have a tighter crumb, so judge those against their own style rather than a white sourdough.
Bulk or final proof: which one went wrong?
Most crumb problems trace back to bulk fermentation, because that is where the dough gains most of its gas and strength. The final proof mainly fine-tunes the result. Two quick checks help you tell them apart:
- How did the dough feel at shaping? Tight, dense and slow to relax points to a short bulk. Slack, sticky and hard to tension points to a long one.
- How did it behave when you scored it? A proofed loaf holds its shape when scored. One that deflates or spreads as the blade passes was over in the final proof.
A gentle poke with a floured finger is still the best check at the end of the final proof. If the dent springs back instantly, give it longer. If it fills back slowly and partly, bake. If it stays put, bake straight away and expect a flatter loaf.
Two common timing traps
A recipe time in a cool kitchen
Say your dough sat at 22 °C (72 °F) with 20% starter, and you shaped it at 4 h 30 min because the recipe said four to five hours. The bulk fermentation estimator puts that dough at about 5 h 45 min to 7 h 45 min, with a target rise of about 50% to 75%. It left bulk more than an hour early, which is exactly the recipe for tight crumb and a few big holes. Bulk fermentation: how to tell when it’s done describes the signs to wait for instead.
A room-temperature proof in summer
Now the opposite. A recipe calls for a three-hour final proof on the counter. In the sourdough schedule planner, a room-temperature proof at 20 °C comes out at about 2 h to 3 h 15 min, so three hours is sensible there. At 26 °C (79 °F) it drops to about 1 h to 1 h 45 min. Follow the recipe on a warm day and the loaf spends nearly twice as long as it should, which is where flat, lacy loaves come from.
The planner lays out bulk and the final proof for your own kitchen temperature and bake time, so both stages start from a realistic estimate:
A proof in the fridge sidesteps a lot of this. At fridge temperature the dough changes slowly enough that an hour either way makes little difference, which is one reason a sourdough schedule for people who work 9 to 5 relies on it.
Fixing it next time
| What you saw | Likely cause | First change to try |
|---|---|---|
| Tight crumb, a few big holes at the top, side burst | Bulk too short | Let bulk run until the rise target is reached, or warm the dough |
| Decent crumb but wild, uneven oven spring | Final proof too short | Proof longer; use the poke test |
| Low, wide loaf, pale crust, lacy crumb | Proofed too long | End bulk earlier or shorten the final proof |
| Flat, compressed, very sour | Well overfermented | Use less starter or a cooler dough |
| Gummy band near the base, damp crumb | Underbaked or cut warm | Bake longer and cool fully |
Change one thing per bake. If you shorten bulk and cool the kitchen at the same time, you won’t know which one helped. A loaf that feels heavy for other reasons, like too little water or a tired starter, is covered in why is my sourdough dense?.
Common mistakes when reading crumb
- Judging from the end slice. The ends always look tighter. Cut through the centre.
- Cutting while warm. A gummy look from a hot loaf says nothing about proofing.
- Chasing big holes. A few huge holes with tight crumb around them is a fault, not a goal.
- Blaming the final proof for everything. Most of the crumb is decided in bulk.
- Comparing different flours. A 50% whole wheat loaf will never look like a white one, and that is fine.
Crumb questions
Can a loaf be underproofed and overproofed at once?
In a sense, yes. A dough that ran long in bulk and was then rushed through a short final proof can show a weak, spread shape alongside patches of tight crumb. Read the overall shape for bulk and the oven spring for the final proof.
Why is there a big hollow right under my top crust?
Most often the loaf was underproofed and gas pooled under the crust as it set. Loose shaping that trapped a pocket of air, or a heavy dusting of flour folded into the dough during shaping, can do it too.
Does the oven affect the crumb as much as proofing?
Less, but it matters. Too little heat underneath, or a pot that wasn’t fully preheated, limits oven spring and can leave the base dense even when proofing was right.