
Focaccia is the easiest place to bake a really wet sourdough, because the pan does the job your shaping would otherwise have to do. A dough at 78 to 85% hydration that would spread into a puddle on a baking stone simply fills the corners of an oiled tin and rises upwards. To handle it, keep your hands wet instead of floured, build strength with folds in the container rather than kneading, use a generous amount of olive oil in the pan, and let a night in the fridge firm the dough up. Dimple it at the very end of the proof, then bake hot.
How wet is wet?
Focaccia recipes range from about 70% hydration, which gives a tighter, bready slab, to 85% or more, which gives big irregular holes and a crisp, almost fried base. Around 78 to 82% is a comfortable middle for a first sourdough version.
The catch is that your starter brings water too. If a recipe lists 450 g of flour and 360 g of water, it looks like 80%. Add 100 g of starter at 100% hydration, and the true figure is higher, because that starter is 50 g of flour and 50 g of water.
The sourdough hydration calculator works this out. Put those amounts into it, along with 11 g of salt, and it reports:
- True hydration: 82%
- Total flour: 500 g, total water: 410 g
- Starter: 20% of the total flour
- Salt: 2.2% of the total flour
- Total dough: 921 g
If 82% feels like more than you want to handle, enter a target. With the water at 340 g, the true hydration reads 78%. Set the target to 80% and it asks for 350 g of water, 10 g more than you entered.
A dough of about 920 g suits a 23 × 33 cm (9 × 13 in) metal pan, which gives a thick, airy slab. For a thinner, crisper focaccia, use a larger tray or less dough. If wet dough still feels unfamiliar, dough hydration: what 65% vs 80% really means is a good next read.
Oil in the dough, oil in the pan
Some focaccia doughs include olive oil in the mix, often 2 to 5% of the flour, which softens the crumb a little. Enter 500 g of flour and 25 g of oil as an “Other” ingredient in the baker’s percentage calculator, and the oil shows as 5%. It doesn’t count toward hydration, but it does make the dough feel looser.
Far more oil goes in the pan than in the dough. Two to three tablespoons spread over the base and up the sides stops sticking, and it is what turns the bottom crust golden and crisp. A little more over the top before dimpling helps the dough slide and keeps the surface from drying.
Building strength without kneading
Wet dough is miserable to knead on a counter. Do the work in the container instead.
- Mix the flour and most of the water and rest it for 30 to 60 minutes.
- Add the starter, salt and remaining water, and squeeze them through the dough with a wet hand until smooth.
- Over the next two hours, give it three or four sets of coil folds: lift the middle of the dough with both wet hands, let the ends tuck underneath, turn the container and repeat.
- Leave it covered until it has risen by about 50% and looks domed and bubbly.
Each set of folds should leave the dough noticeably smoother and taller. If it still spreads flat after the fourth set, a fifth won’t hurt. Stretch and folds vs kneading has more on building gluten this way.
Using the fridge
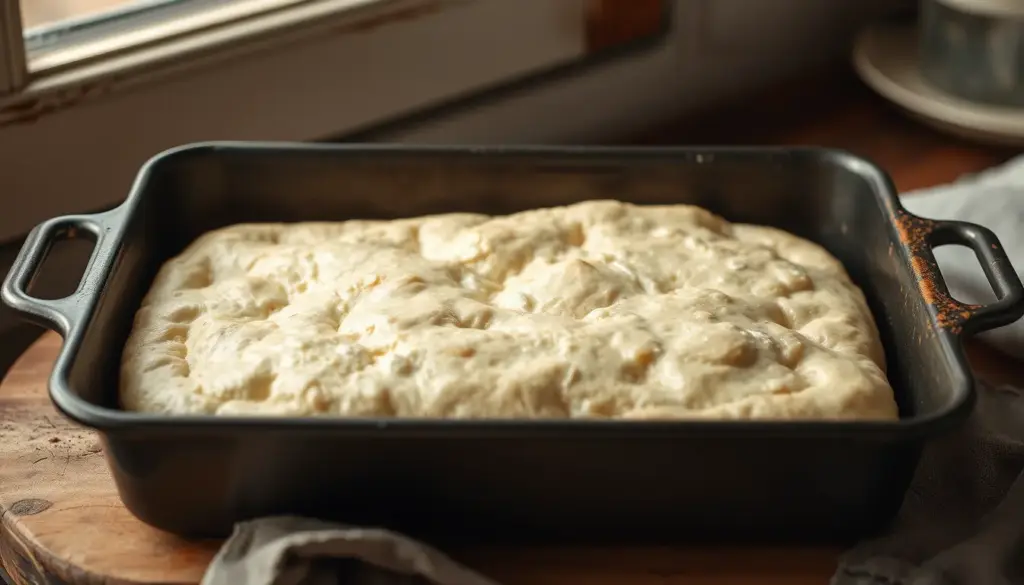
A cold night makes high-hydration dough far easier to work. After bulk, either pour the dough into the oiled pan and refrigerate it there, or keep it in its container and move it to the pan the next day. Twelve to 24 hours in the fridge is typical, and the flavour deepens over that time.
Cold dough won’t reach the corners at first. Press it out gently, leave it 20 to 30 minutes to relax, then press again. Never force it: tearing a wet dough loses the gas you want to keep.
The final proof and dimpling
After the fridge, the dough needs to warm up and become airy again. In a room around 22 to 24 °C, that usually takes two to four hours. It is ready when it has visibly puffed, the surface shows bubbles, and the whole slab jiggles when you nudge the pan.
Then oil your fingertips and press straight down to the base of the pan all over the dough. Dimples that reach the bottom stay put in the oven. Shallow ones fill back in. This is also the moment for toppings: flaky salt, rosemary, olives or halved cherry tomatoes. Push larger toppings in so they don’t roll off.
Baking
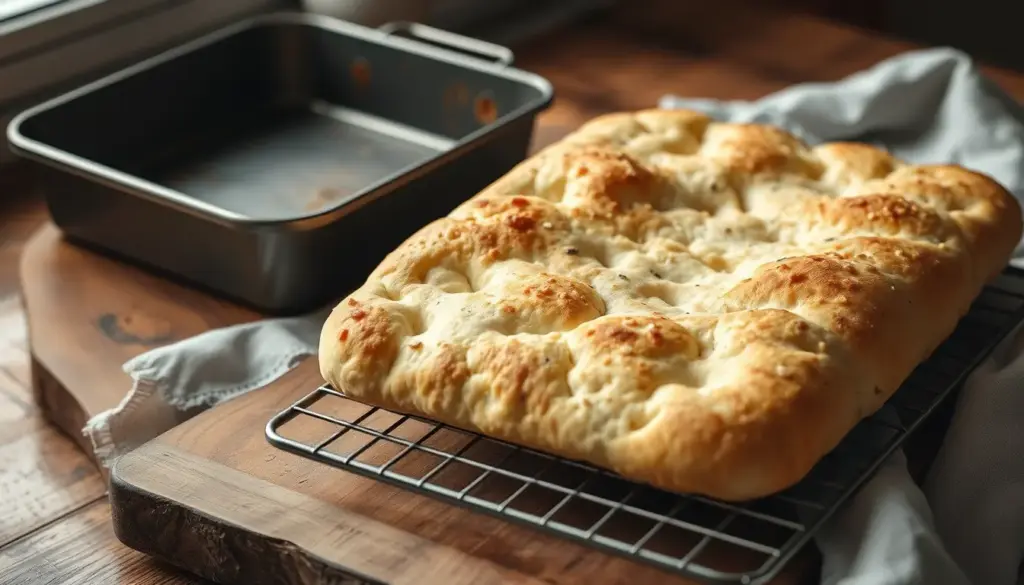
Bake on a low rack at 220 to 230 °C (425 to 450 °F) for about 20 to 30 minutes, until the top is deep golden and the base is crisp when you lift a corner with a spatula. A dark metal pan browns the base best. Glass and ceramic dishes work but take longer to crisp the bottom.
Move the focaccia onto a rack within a few minutes of leaving the oven, otherwise steam softens the base. To convert a yeasted focaccia you already like, how to convert any yeast recipe to sourdough walks through the numbers.
A two-day plan
Focaccia fits neatly around a working week. Here is one way to time it in a kitchen around 23 °C:
- Day 1, morning: feed the starter, aiming for a peak at about noon.
- Day 1, early afternoon: mix the dough and give it its folds over the next two hours.
- Day 1, early evening: once it has grown by about half, pour it into the oiled pan or a lidded container and refrigerate.
- Day 2, late morning: take it out, stretch it into the corners if needed, and let it proof somewhere warm.
- Day 2, mid-afternoon: dimple, top and bake, ready to serve warm with dinner.
If the dough is slow on the first evening, give it another hour before the fridge rather than chilling a dough that has barely risen. Cold slows fermentation down but doesn’t finish it.
Focaccia mistakes
- Adding flour to make it manageable. It lowers the hydration and tightens the crumb. Wet your hands instead.
- Ignoring the starter’s water. A recipe that reads 80% can be closer to 82% once a 100% starter is counted.
- Too little oil in the pan. Wet dough grips bare metal and tears when you try to lift it out.
- Dimpling too early. Pressing a dough that hasn’t puffed leaves it dense and flat.
- Leaving it to cool in the pan. The base steams and loses its crunch.
Focaccia questions
Can I use a glass baking dish?
Yes, though the base browns less. Oil it well, bake on the lowest rack, and allow a few extra minutes. Never move a glass dish from the fridge straight into a hot oven; let it stand at room temperature during the final proof.
Why are the big bubbles only around the edges?
The centre was probably underproofed or pressed too hard. Give the dough longer after the fridge, and dimple with straight fingers rather than dragging them through the surface.
How do I store leftover focaccia?
Wrap it loosely and keep it at room temperature for a day or two. To revive it, warm slices in a hot oven or a dry pan for a few minutes. It also freezes well in portions.