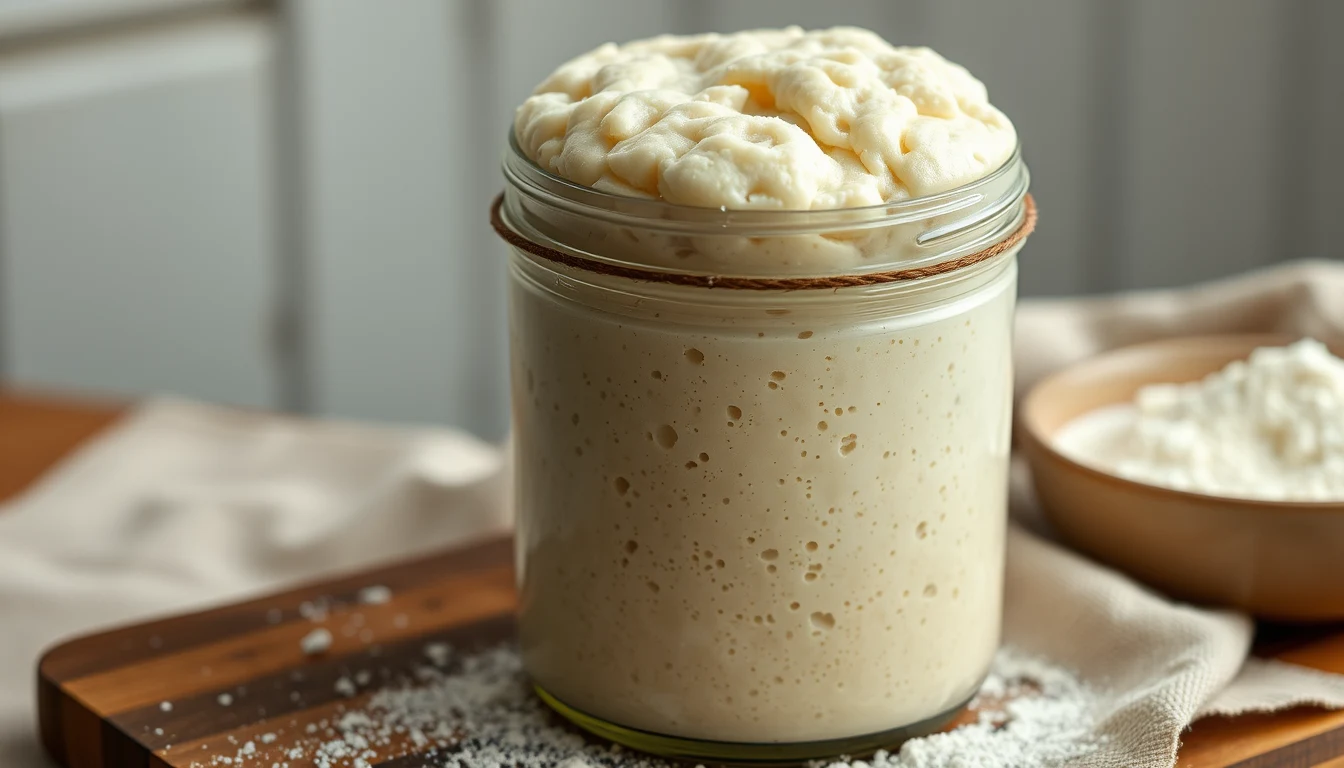
All it takes is flour, water, a jar and one to two weeks of short daily visits. Stir together equal weights of whole grain flour and water, keep the jar somewhere warm, and once a day throw most of the mixture away and replace it with fresh flour and water. Somewhere between day 7 and day 14 the jar will start doubling on a predictable timetable after each feed, and at that point it is strong enough to raise bread.
You don’t need to buy a culture or add commercial yeast. Wild yeast and lactic acid bacteria already live on grain and in your kitchen. The routine of discarding and feeding simply tilts the odds toward the microbes that make good bread until they dominate the jar. Here is the process day by day, with what you are likely to see and the reason behind each step.
Before day 1: what to gather
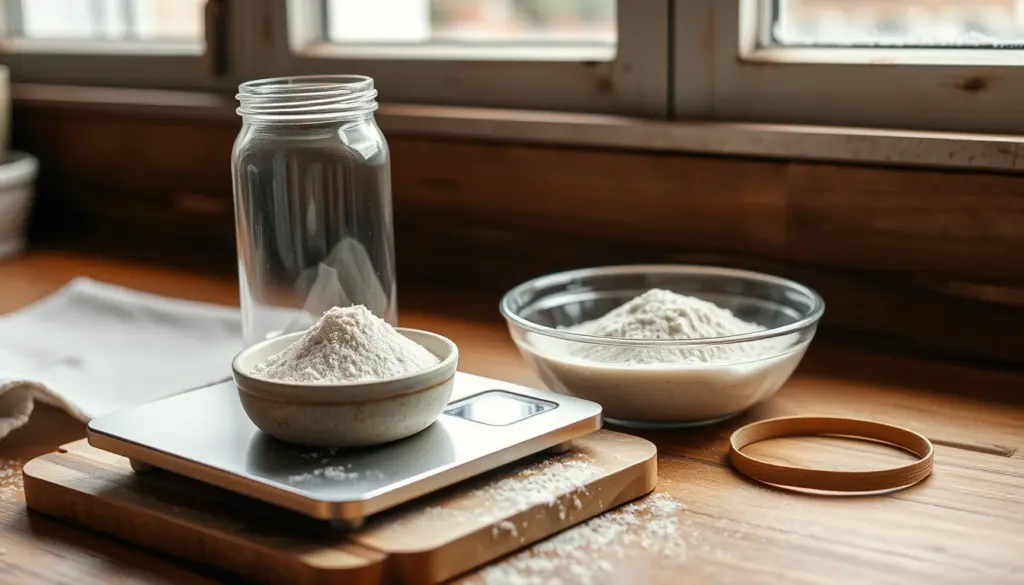
- Whole grain flour for the first week. Whole rye or whole wheat carries far more wild microbes and minerals in its bran than white flour does, so fermentation gets going sooner.
- Ordinary drinking water. If your tap water tastes strongly of chlorine, use filtered water for the first couple of weeks while the population is tiny.
- A clear, straight-sided jar holding around 500 ml (2 cups) or more, with a lid you can rest on loosely or a cloth and rubber band. Clear glass lets you see bubbles through the side, and straight walls make a rise easy to judge.
- A kitchen scale. You will be weighing 50 g portions, and spoons or cups are not consistent enough at that size. Our post on why bakers weigh instead of using cups explains the difference in numbers.
- A warm spot, ideally 24 to 26 °C (75 to 79 °F). A cooler kitchen still works; every stage just takes longer.
- A rubber band or strip of tape to mark the level after each feed.
The first two weeks, day by day
Day 1: mix the first paste
Weigh 50 g of whole grain flour and 50 g of lukewarm water, around 27 °C, straight into the jar. Stir until there are no dry pockets, scrape the sides clean with a spatula, set the lid on loosely and mark the level. The slightly warm water gives the microbes a gentle head start, and clean sides stop crusty patches from drying out and growing mould.
Day 2: the first feed
You may see a few bubbles or nothing at all, and both are normal. Stir, then remove everything except 50 g. Add 50 g of fresh flour and 50 g of water, stir well and mark the level again. That is a 1:1:1 feed: one part old mixture, one part flour, one part water. Discarding before each feed keeps the jar from overflowing and makes sure the fresh flour is a real meal for the population rather than a small top-up to a large, acidic mass.
Day 3: the misleading burst
This is often the most exciting day of the week. The jar may double, fill with foam and smell odd, somewhere between old cheese and gym socks. Most of that activity comes from bacteria that thrive in a fresh, only mildly acidic flour paste, not from the yeast you are trying to grow. Feed exactly as on day 2 and resist the urge to bake. A loaf made today would barely rise.
Days 4 and 5: the quiet spell
The burst fades and the jar can look completely dead. As acid builds up, it pushes out those early bacteria, while the acid-loving lactobacilli and wild yeast are still present in small numbers. This lull is where most people give up or start over, and it is exactly the wrong moment to do either. Keep feeding once a day. A thin layer of grey liquid on top means the culture is hungry; stir it back in or pour it off before feeding.
Days 6 and 7: the real culture appears
Bubbles return, this time spread through the paste rather than sitting on top, and the smell turns pleasantly sour, closer to yoghurt or a light beer. Start replacing half the whole grain flour in each feed with unbleached bread flour or all-purpose flour. White flour gives a steadier, more predictable rise and matches what most recipes expect, while the remaining whole grain keeps the culture well fed. If the jar now rises and starts to sink within about 12 hours, move to two feeds a day, roughly 12 hours apart.
Days 8 to 14: building strength
The goal now is consistency. Keep feeding 1:1:1 twice a day and watch how long each rise takes. A healthy culture fed 1:1:1 in a 24 °C kitchen should peak in about 4 h to 6 h, which is the window the sourdough starter feeding calculator gives for those conditions. Young starters often run slower than that at first and speed up day by day. Some take three weeks, particularly in winter, and that is still a normal result.
How to tell your starter is ready
Look for all of these on three days in a row, not just once:
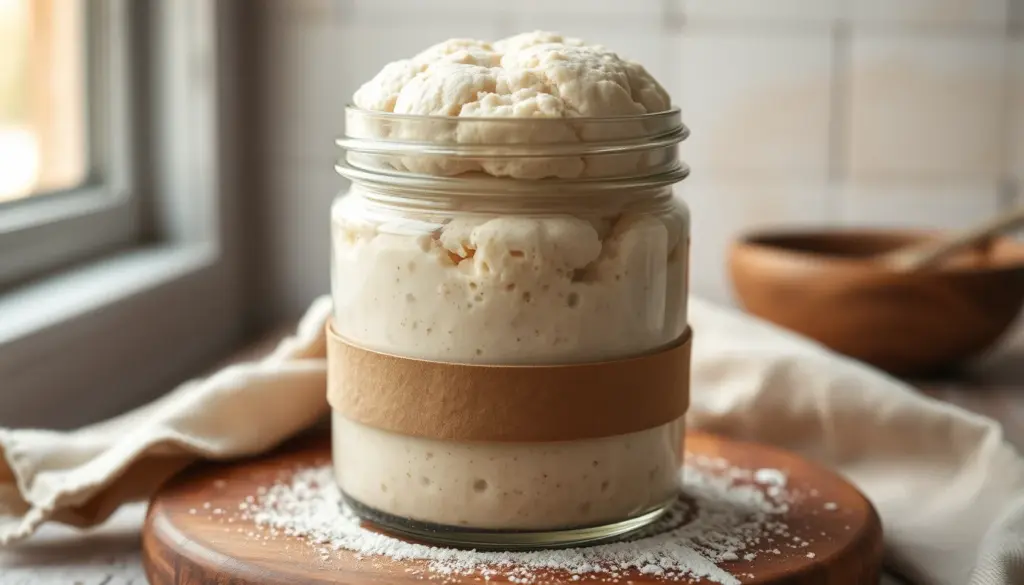
- It at least doubles after each feed, and does so at roughly the same time each day.
- The top domes at its peak, then slowly flattens as the food runs out.
- Bubbles run all the way through the jar, not only across the surface.
- It smells sour and yeasty in a pleasant way, with none of the cheesy edge from day 3.
- A spoonful pulled from the jar at peak stretches into sticky, web-like strands.
Consistency matters more than the size of a single rise. A starter that doubles in five hours on Monday, eight on Tuesday and not at all on Wednesday is still settling in.
Switching to a feeding routine that fits your baking
Once the starter is established, you no longer feed fixed 50 g portions. You feed for the next bake: enough starter for the recipe plus a little to keep in the jar. The ratio you choose sets how long it takes to peak, which lets you line up peak time with mixing time.
Say it is day 12, your recipe needs 100 g of starter, you want to keep 25 g back, and the kitchen is 25 °C. Choosing a 1:2:2 feed, the calculator returns 25 g of starter, 50 g of flour and 50 g of water, a total of 125 g at 100% hydration, with a time to peak of about 4 h 45 min to 7 h 15 min. Feed at 8 AM and plan to mix between roughly 12:45 PM and 3:15 PM, checking the jar rather than the clock. For a new starter, expect the later end of that range for the first few weeks.
Feeding at a bigger ratio, 1:5:5 for example, stretches the timing so the starter can ripen overnight or through a workday. The trade-offs are covered in what starter feeding ratios actually do.
Keeping it between bakes
If you bake once a week or less, the fridge saves a lot of flour. Feed the starter, leave it at room temperature for an hour or two so the fresh flour gets colonised, then refrigerate it. Cold slows the microbes so much that one feed a week keeps them going. The day before you bake, take the jar out and give it one or two feeds at room temperature so it is back to full speed when you need it. Wait until the starter has behaved predictably for a week or so at room temperature before moving it to the fridge, since a young culture can stall in the cold.
Common mistakes in the first two weeks
- Quitting on day 4 or 5. The quiet spell is a normal stage, not a failure.
- Baking on day 3. A big bacterial rise is not the same as a yeast-driven one, and the loaf will show it.
- Keeping the jar too cool. At 19 to 20 °C, everything above can take twice as long. If progress stalls, read sourdough starter not rising? causes and fixes before starting again.
- Never discarding. Adding flour without removing any produces a huge, sour, sluggish starter that needs ever larger feeds.
- Changing everything at once. Switching flour, water and location on the same day makes it impossible to tell what helped. Change one thing at a time.
- Screwing the lid down tight. Gas needs somewhere to go; resting the lid on top is plenty.
Starter-from-scratch questions
Do I need pineapple juice, grapes or a pinch of yeast to get it going?
No. Some methods use pineapple juice for the first few days because its acidity shortens the smelly bacterial phase, but plain water works if you are patient. Adding commercial yeast is counterproductive: it makes the jar bubble for the wrong reasons, so you can’t tell when the wild culture has actually taken hold.
What should I do with the discard in the first week?
Throw it away or compost it until about day 6. Before then the jar is dominated by microbes you are trying to get rid of, and the flavour is unpleasant. Once the starter smells sour and clean, discard works well in pancakes, crackers and quick breads, and the sourdough discard converter helps fit it into recipes you already use.
Can I start with white flour only?
Yes, but expect it to take several days longer. White flour has had most of its bran removed, and with it much of the wild population and minerals the culture feeds on. If a white-flour jar stalls, mixing in a little whole rye for a few feeds usually wakes it up.
Will my first loaves taste properly sour?
Often they taste milder than you expect. Many bakers find the flavour of a starter deepens over its first month, and the way you ferment the dough matters even more than the age of the jar.