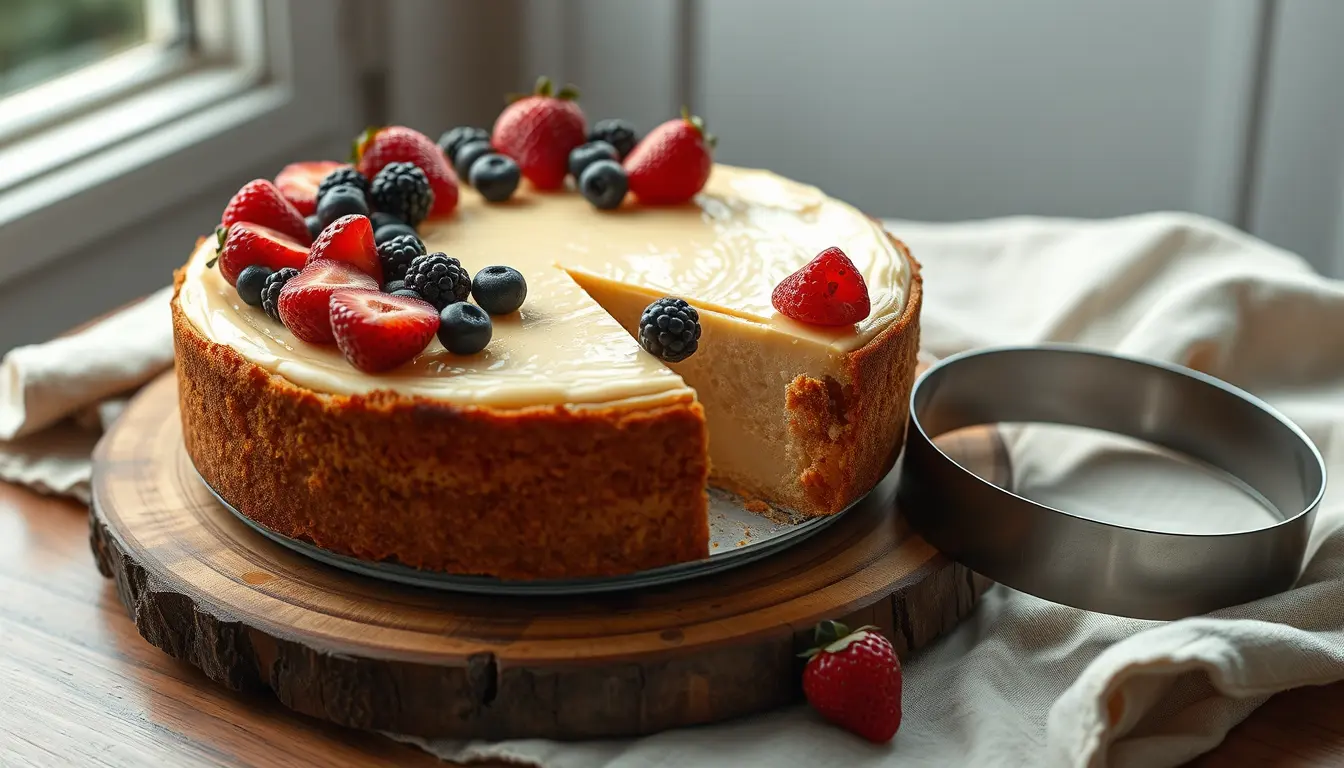
To convert a cheesecake recipe to a different springform pan, scale the batter and crust by the area of the pan. Going from a 9 inch (23 cm) springform to an 8 inch (20 cm) one means using about 0.79 times the recipe; going up to a 10 inch (25 cm) pan means about 1.23 times. Scaled that way, the batter keeps the same depth and bakes in roughly the original time. If you bake the recipe unscaled in a different pan, the cheesecake will be deeper or shallower, and the baking time changes a lot, so judge doneness by the wobble in the centre rather than by the clock.
Why depth matters so much for cheesecake
Cheesecake is a baked custard. It sets gently, from the outside in, and it’s easy to overbake: the edges puff and crack while the middle catches up. Depth controls how long the heat takes to reach the centre. A deeper cheesecake needs much longer at the same temperature, and the longer the edges sit in the heat, the drier and more cracked they become.
That’s why scaling by area works so well. Keep the batter at the depth the recipe was designed for, and the original baking time, temperature and water bath still apply.
Common springform sizes
The most common sizes are 8, 9 and 10 inches (20, 23 and 26 cm), usually about 6 to 7.5 cm (2½ to 3 in) deep. Smaller 6 and 7 inch pans are popular for small cheesecakes and are often a little taller relative to their width. Most American recipes are written for a 9 inch pan. Measure the inside diameter of your pan across the base, since rims and clasps can make the outside measurement misleading.
Scaling with the converter
The cake pan size converter compares the two pans and gives the factor:
| Recipe pan | Your pan | Scale by | Unscaled batter would be |
|---|---|---|---|
| 9 inch | 8 inch | × 0.79 | × 1.27 as deep |
| 9 inch | 10 inch | × 1.23 | × 0.81 as deep |
| 9 inch | 6 inch | × 0.44 | × 2.25 as deep |
| 23 cm | 20 cm | × 0.76 | × 1.32 as deep |
| 9 × 13 inch | 9 inch round | × 0.54 | × 1.84 as deep |
The metric line gives a slightly different factor from the inch line because 23 cm and 20 cm aren’t exact conversions of 9 and 8 inches. Always use your pan’s real size.
If you enter the batter weight, the converter does the arithmetic too. A recipe that makes 1,600 g of batter in a 9 inch pan needs 1,264 g for an 8 inch pan.
The last line in the table is handy if you have a recipe for cheesecake bars baked in a 9 × 13 inch pan. Scaled by 0.54, it fits a 9 inch springform at the same depth.
A worked example
Here’s a typical 9 inch cheesecake scaled to an 8 inch pan with the recipe scaler at × 0.79:
| Ingredient | 9 inch | 8 inch (× 0.79) |
|---|---|---|
| Cream cheese | 900 g | 711 g |
| Sugar | 200 g | 158 g |
| Large eggs | 4 | about 3.2 (beat 4, use 158 g) |
| Sour cream | 240 g | 190 g |
| Vanilla extract | 2 tsp | 1⅝ tsp |
| Graham cracker crumbs | 200 g | 158 g |
| Melted butter | 85 g | 67 g |
Eggs are the awkward part. Beating four eggs together and weighing out 158 g is more accurate than guessing at three and a bit. Use the leftover egg in an omelette or as egg wash. If your recipe lists ingredients in cups and blocks, convert them to grams first; cream cheese blocks in particular come in different sizes in different countries, so weighing avoids confusion.
Baking the unscaled recipe in another pan
Sometimes you’d rather keep the recipe as it is. That’s possible, but plan for the change in depth:
- Smaller pan, unscaled: the batter sits deeper, so bake at the same temperature for longer, often 15 to 30 minutes more for a 9 inch recipe in an 8 inch pan. Check that the batter won’t come within about 1 cm of the rim; the cheesecake rises a little as it bakes.
- Larger pan, unscaled: the cheesecake is thinner and bakes faster. Start checking 15 minutes early.
These time changes are approximate. The wobble test below matters more than any figure.
Water baths and leaks
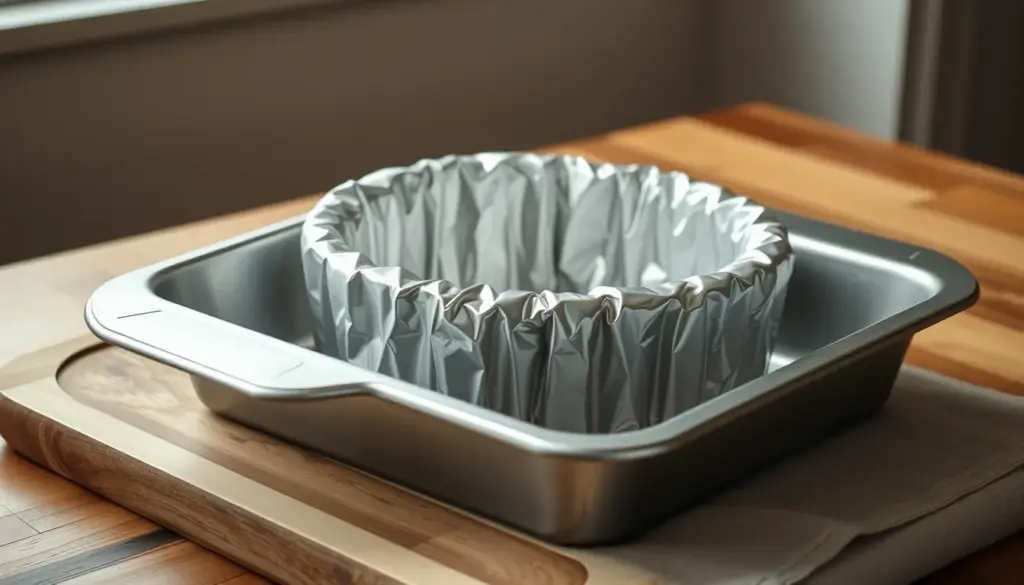
A water bath keeps the heat gentle and the air humid, which helps prevent cracks. Springform pans, though, aren’t watertight. Wrap the outside of the pan in two layers of wide, heavy-duty foil, or set it inside a slightly larger cake pan or an oven-safe silicone sleeve, before lowering it into a roasting tin. Pour hot water into the tin to come about halfway up the sides of the springform.
If you’d rather avoid a bath altogether, put a tin of hot water on the rack below the cheesecake. It adds steam, though the protection is a little less even.
Knowing when it’s done
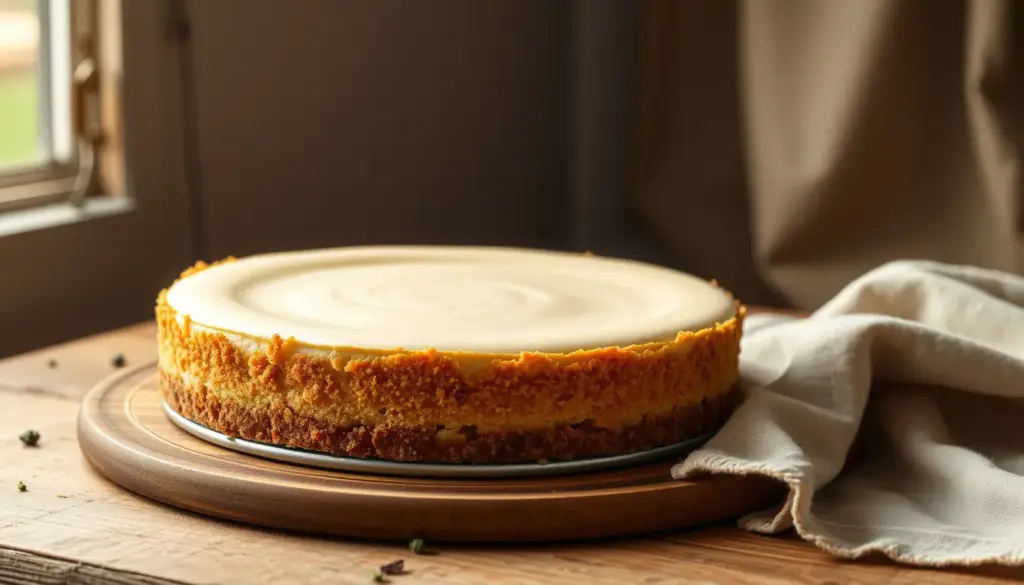
Bake at a low temperature, often 150 to 165 °C (300 to 325 °F). The cheesecake is ready when the edges are set and slightly puffed and the centre, roughly 5 to 8 cm across, still wobbles as one piece when you nudge the pan, like set jelly rather than liquid. If you use a thermometer, many bakers aim for about 65 °C (150 °F) in the centre. These are approximate guides.
The centre keeps cooking after the oven is turned off. Pulling it out while it still wobbles prevents the dry, cracked texture of an overbaked cheesecake.
Cooling without cracks
- Turn the oven off and open the door a crack. Leave the cheesecake inside for about an hour.
- Run a thin knife around the edge so the cheesecake can pull away from the pan cleanly as it shrinks.
- Cool to room temperature on a rack.
- Chill, covered, for at least 6 hours, ideally overnight, before releasing the ring and slicing.
Sudden temperature changes and a cheesecake stuck to the sides are two of the most common causes of cracks.
Cheesecake conversion mistakes
- Measuring the outside of the pan. Use the inside diameter.
- Forgetting to scale the crust. The crust scales by the same area factor as the filling.
- Baking an unscaled recipe for the original time. A deeper cheesecake will be raw in the middle.
- Relying on colour. Cheesecake should barely colour. Judge by the wobble.
- Skipping the slow cool. The surface cracks as it contracts too fast.
For straight-sided cake pans in general, how to convert a cake recipe to a different pan size explains the area method in more depth, and turning a cake recipe into cupcakes covers individual portions.
Cheesecake questions
Can I bake cheesecake in a regular cake pan?
Yes. Line the base and sides with baking paper so you can lift it out after chilling, and scale by area as you would for a springform.
Do I need to change the oven temperature for a smaller pan?
No. If you scale by area, keep the temperature and baking time roughly the same, and check a little early.
Can I use the same recipe for mini cheesecakes?
Yes, in a muffin tin with liners. They bake much faster, often in 18 to 25 minutes, and don’t need a water bath.
Why did my scaled cheesecake still crack?
Cracks usually come from overbaking, overbeating air into the batter, or cooling too fast, not from the scaling itself.