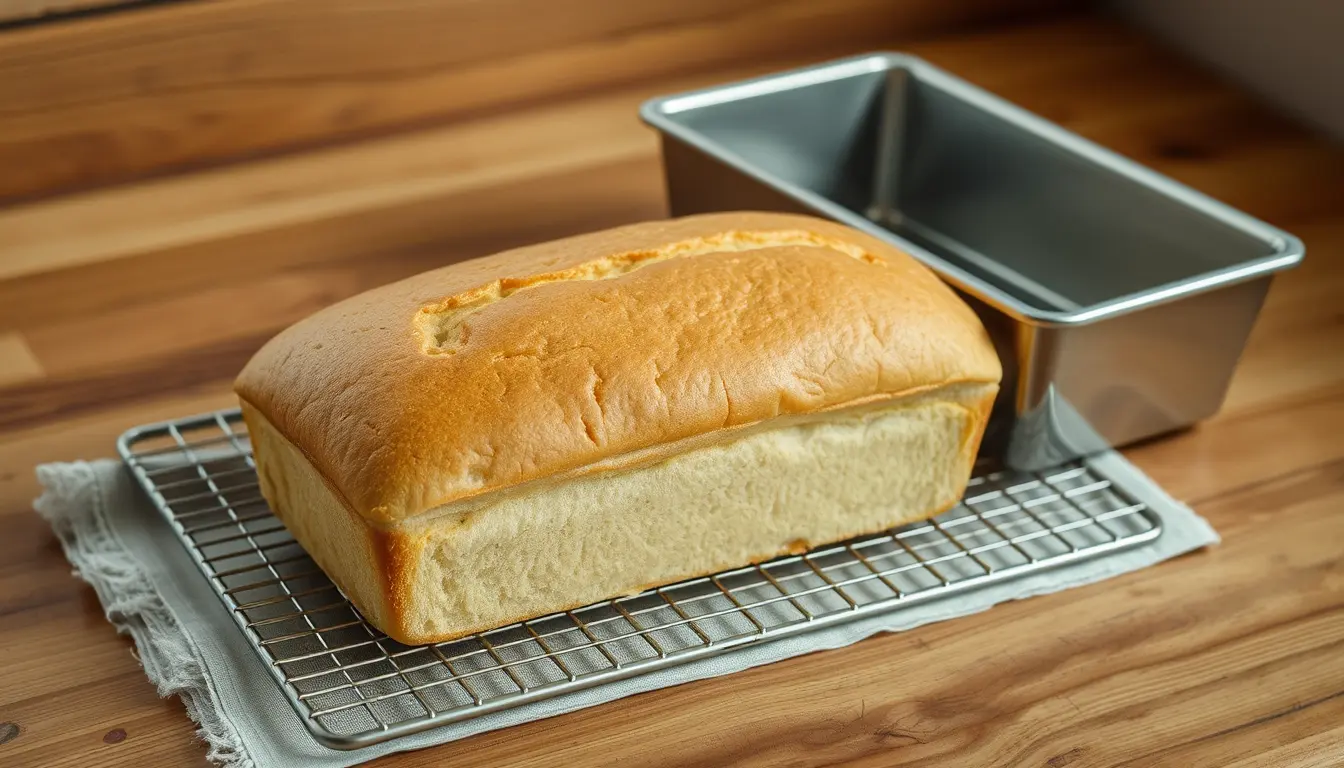
A loaf tin takes a lot of the pressure off sourdough. There’s no basket to stick to, no scoring to worry about and no risk of the loaf spreading into a pancake, because the pan holds it up while it proofs and bakes. In return you get tall, even slices that fit a toaster and hold a sandwich together.
For a standard 9 × 5 in tin you need about 885 g of dough. Shape it into a tight log, let it proof until it domes just above the rim, then bake it at 220 °C (425 °F) for 20 minutes and 200 °C (400 °F) for another 20 to 25, until the crust is golden brown all over and the centre reads about 95 to 97 °C (203 to 207 °F). Here’s each step in more detail.
Step 1: size the dough to your tin
Too little dough gives a squat loaf, and too much spills over the sides before it bakes. The loaf pan dough weight calculator works it out from the pan’s volume. For an open-topped loaf with a domed crown, it uses about 400 g of dough per litre of pan.
| Tin, inside measurements | Volume | Dough for a domed loaf |
|---|---|---|
| 9 × 5 × 3 in | 2.21 litres | 885 g |
| 8½ × 4½ × 2¾ in | 1.72 litres | 689 g |
If your tin is a different size, measure it inside at the rim and enter the figures here:
How much dough for a 9×5 loaf pan explains where that density comes from, and Pullman loaf pans covers lidded tins, which need less dough for the same volume.
Step 2: build the recipe
With the dough weight known, the sourdough recipe builder turns it into a list of ingredients. For a sandwich loaf, a slightly lower hydration than a crusty boule gives a finer, more even crumb that’s easier to slice thin. At 885 g, 68% hydration, 2% salt and 20% starter at 100% hydration, the builder gives:
- 469 g of bread flour
- 302 g of water
- 104 g of starter
- 10 g of salt
For the smaller 8½ × 4½ in tin, set the weight to 690 g and it becomes 365 g of flour, 235 g of water, 81 g of starter and 8.1 g of salt.
Bread flour gives the tallest loaf. All-purpose flour works, but the loaf will be a little lower and softer. Bread flour vs all-purpose flour explains the difference.
A softer version
For a softer crust and a more tender crumb, a few additions help. Replace up to half of the water with milk, and add 4 to 6% butter or oil and 3 to 5% honey or sugar, all as a percentage of the flour. Milk is mostly water but not entirely, so the dough may feel slightly firmer; add a splash more water if it does. These extras add weight, so the loaf will sit a little higher in the tin. Sugar and milk also brown faster, so bake the soft version at 190 °C (375 °F) throughout and tent it with foil if it colours early.
Step 3: mix and bulk ferment
Mix and ferment exactly as you would for any sourdough loaf: a short rest, starter and salt worked in, then three or four sets of folds over the first couple of hours. Let bulk run until the dough has grown by roughly half to three quarters and feels light and jiggly. Because the tin will support the loaf, you can push bulk slightly further than you would for a free-standing boule without the loaf spreading.
Step 4: shape a tight log
A loose shape bakes into a loaf with holes and a sunken middle, so take your time here.
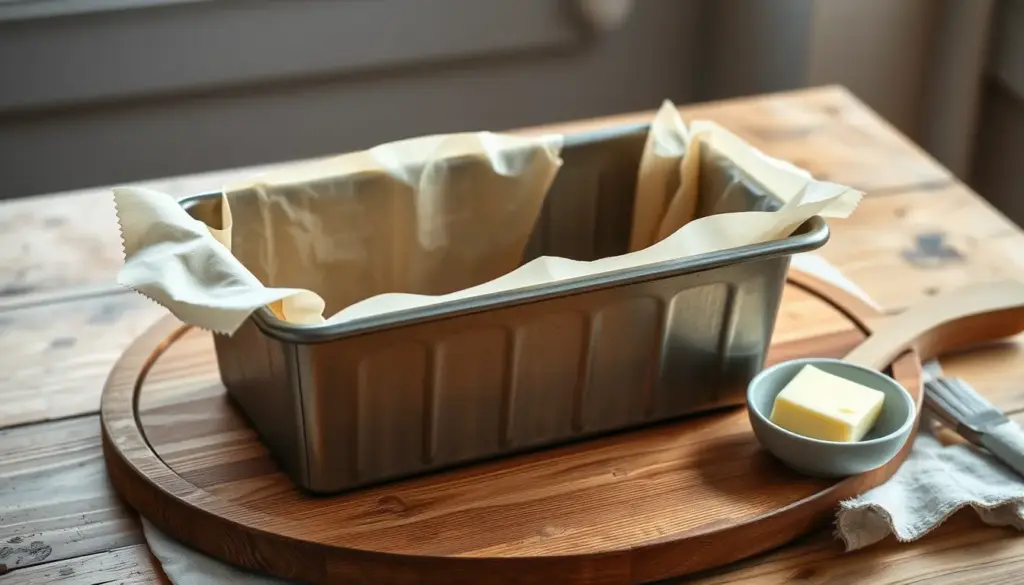
- Grease the tin with butter or oil, or line it with a parchment sling that overhangs the long sides.
- Turn the dough out and pre-shape it into a loose round. Leave it uncovered for 20 minutes.
- Flip it smooth side down and gently press it into a rectangle about as wide as your tin is long.
- Fold the top third down to the middle and press, then fold the bottom third up over it.
- Starting from the top edge, roll the dough toward you into a tight cylinder, pressing the seam closed with each turn.
- Pinch the final seam shut and tuck the ends under so the log is the length of the tin.
- Lower it in, seam side down, and press gently so it fills the corners.
Step 5: proof until it crowns
Cover the tin and leave it until the top of the dough has domed about 1 to 2 cm (½ to ¾ in) above the rim in the middle. At a warm room temperature, that usually takes two to four hours. A lightly floured fingertip pressed into the side should leave a dent that springs back slowly and not completely.
You can also proof it overnight in the fridge, covered with a bag. A cold loaf often needs an hour or two at room temperature in the morning to finish rising to the rim before it goes in the oven.
Step 6: bake
- Preheat the oven to 220 °C (425 °F) with a rack in the lower middle.
- Brush or spray the top with water. A shallow slash along the length is optional.
- Bake for 20 minutes.
- Lower the oven to 200 °C (400 °F) and bake for another 20 to 25 minutes, until the top is a deep golden brown.
- Tip the loaf out of the tin and check the base and sides. If the sides are pale or soft, put the loaf back in the oven directly on the rack for 5 minutes.
- Check the centre with a probe from below; it should read about 95 to 97 °C (203 to 207 °F).
On a fan oven, set each step about 20 °C lower.
Step 7: cool before slicing
Turn the loaf out onto a rack as soon as it’s done. Left in the tin, steam condenses against the sides and turns the crust damp. Let it cool for at least two hours before slicing. A sandwich loaf is cut thin, and a warm crumb tears and squashes under the knife.
For a softer crust, brush the top with melted butter while it’s still hot, or cover the cooling loaf loosely with a clean tea towel to keep in some steam.
Sandwich loaf mistakes
- Too much dough for the tin. It overflows the sides and bakes with a mushroom top and a damp middle.
- A loose shape. Gaps between the folds bake into long tunnels.
- Baking too soon. If the dough hasn’t reached the rim, the crust tears along the sides as it springs.
- Leaving it in the tin to cool. The sides and base go soggy.
- Pulling it while the sides are pale. The tin shields the sides, so they lag behind the top.
Tin loaf questions
Does the tin’s material matter?
Yes, a little. Dark metal tins brown the crust fastest, light aluminium more gently. Glass and ceramic heat slowly but hold heat well, so many bakers lower the oven by 10 to 15 °C with them and bake slightly longer. Whatever you use, judge by colour and temperature.
Can I split the dough between two smaller tins?
Yes, as long as the total suits both tins. Tins sold by loaf size vary a lot, so measure each one and let the calculator set the dough weight rather than trusting the label. Smaller loaves bake faster, so start checking about 10 minutes early.
Should I grease the tin or line it?
Either works. A thin coat of soft butter or oil is enough for a good non-stick tin. A parchment sling is safer for older tins or very wet doughs, and it makes lifting the loaf out easy.