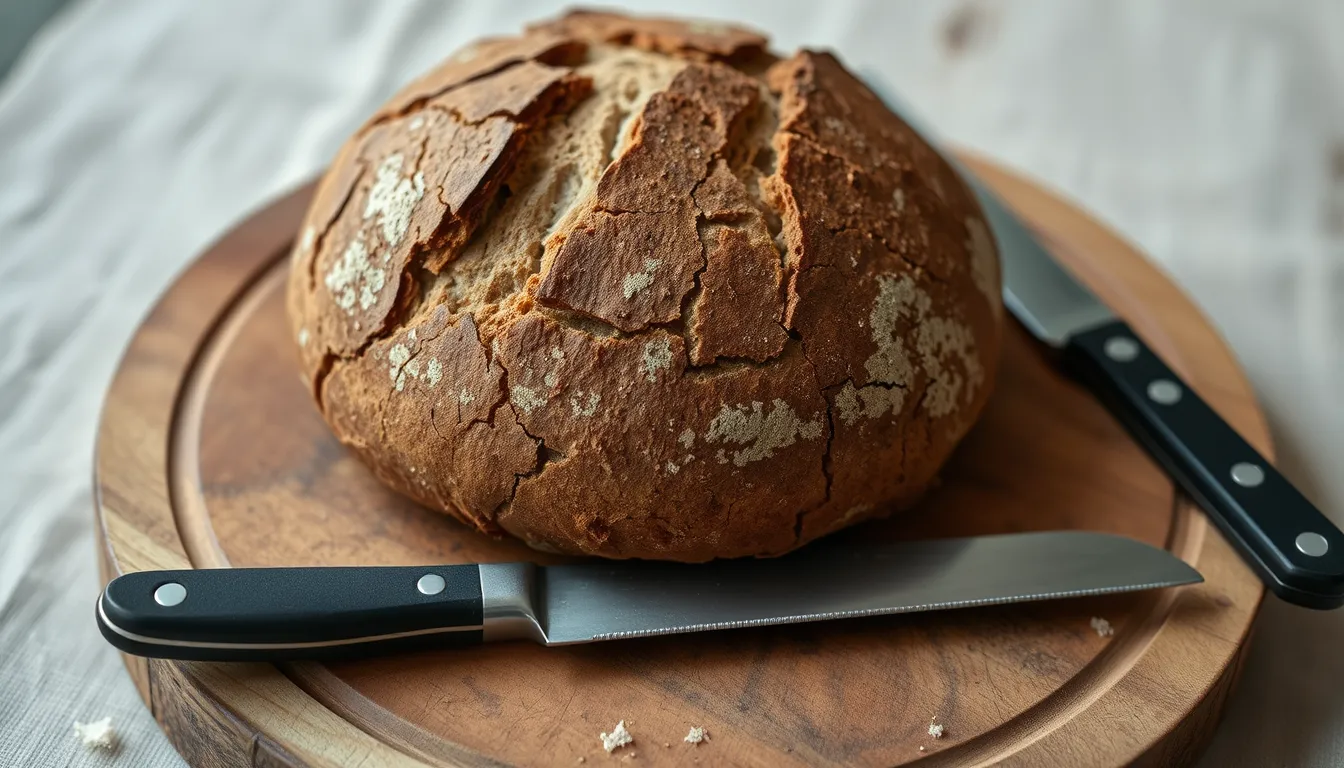
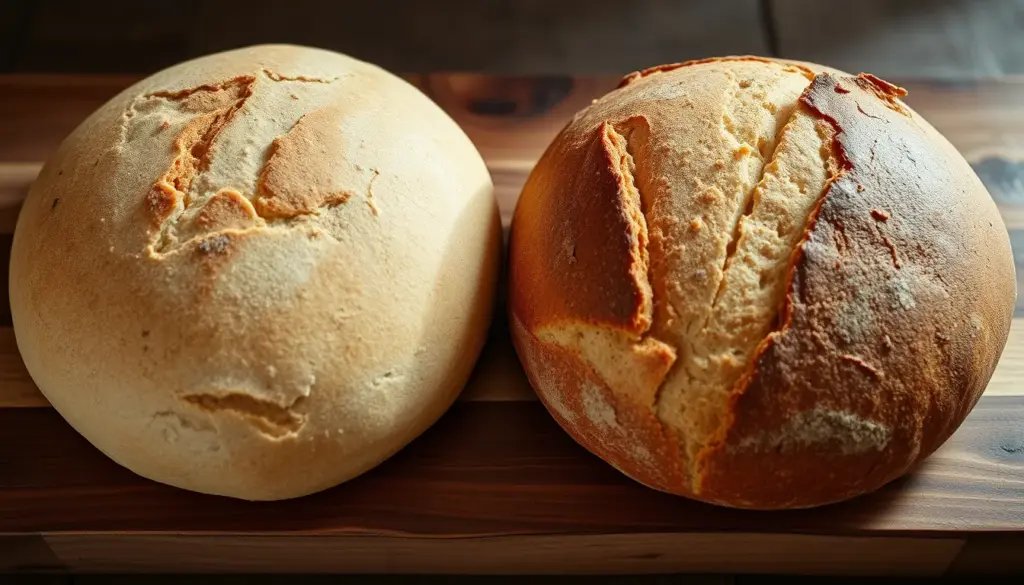
If you only have a minute, here are the short answers. A pale crust usually means the oven wasn’t hot enough, the lid stayed on too long, or the dough overfermented and used up the sugars that brown the surface. A thick crust usually comes from a long bake at too low a temperature, a large loaf, or too little steam early on. A hard crust that is tough to cut is usually a thick crust that has also dried out, often because the dough was on the stiff side or the loaf was stored uncovered.
Most of these share a fix: bake hotter for less time, with plenty of steam at the start. The details are below.
What a good crust needs
A crust forms in two stages. For the first part of the bake, steam keeps the surface soft and stretchy so the loaf can expand. Once the steam is gone, the surface dries, sets and starts to brown. Browning comes from sugars and proteins reacting in the heat, and it needs both a hot oven and some sugar left in the dough.
That gives you three things to get right: enough steam early, enough heat throughout, and enough sugar at the surface when the loaf goes in. Every crust problem traces back to one of them, or to baking longer than the loaf needs.
When the crust is too pale
A pale, matte crust that stays blonde even after a full bake has one of these causes.
The oven or pot wasn’t hot enough
Many home ovens run cooler than the dial says, and a heavy pot needs time to catch up. Preheat for 45 to 60 minutes and check the real temperature with an oven thermometer. If you use a fan oven, remember that recipe temperatures are usually written for conventional heat; fan vs conventional oven temperatures shows how to adjust.
The lid stayed on too long
Steam is good for rise but bad for colour. A loaf baked covered for 30 minutes or more has less time to brown. Take the lid off after about 20 minutes and give it at least another 20 to 25 minutes uncovered.
The dough ran out of sugar
Yeast and bacteria feed on the sugars released from the flour. If the dough fermented too long, there is little left at the surface to brown, and the crust stays pale no matter how long you bake. Pale crust together with a low, spreading loaf is a strong clue. How to read your crumb helps you confirm overproofing from the inside of the loaf.
The flour is very plain
All-white flour browns more slowly than a blend with some whole grain, which carries more natural sugars and enzymes. Replacing 5% to 10% of the white flour with whole wheat or rye gives a deeper colour without changing the character of the loaf much.
When the crust is too thick
A crust much thicker than about 3 to 4 mm (⅛ in) makes slicing hard work and leaves less soft crumb. The usual reasons are the following.
Too long at too low a heat
A loaf baked at 200 °C (390 °F) for an hour builds a thick shell, because the surface spends a long time drying before the centre is done. A hotter, shorter bake sets and browns the crust quickly, then stops. For a 900 g loaf, about 20 minutes covered at 250 °C (480 °F) followed by 20 to 25 minutes uncovered at 230 °C (445 °F) is a good starting point.
A large loaf
Bigger loaves need longer in the oven for the centre to reach about 96 °C (205 °F), and the crust keeps thickening the whole time. Two smaller loaves bake faster and end up with thinner crusts.
Missing steam at the start
Without steam, the surface sets in the first few minutes and then carries on drying and thickening for the rest of the bake. A covered pot, or a tray of boiling water on a stone or steel setup, keeps it soft while the loaf expands.
A stiff dough
Lower hydration doughs tend to give thicker, chewier crusts. Wetter doughs bake up with thinner, crackly shells, partly because the extra water keeps the surface moist for longer.
Changing hydration and loaf size with the recipe builder
Both of those last two fixes are easy to plan with the sourdough recipe builder. Say you currently bake one 900 g loaf at 68% hydration with 2% salt, 20% starter and 10% whole grain. The builder lists 429 g of bread flour, 48 g of whole grain flour, 307 g of water, 106 g of starter and 11 g of salt.
Raise the hydration to 74% and keep everything else. Now it asks for 414 g of bread flour, 46 g of whole grain, 327 g of water, 102 g of starter and 10 g of salt. The loaf weighs the same, but there is 18 g more water in total and the crust will come out thinner.
Splitting the dough is just as simple. At 72% hydration with 20% starter and 2% salt, one 1,200 g loaf and two 600 g loaves need exactly the same list: 621 g of flour, 428 g of water, 138 g of starter and 14 g of salt. The only difference is the divide before shaping, and the smaller loaves need less time in the oven.
Try your own loaf size and hydration here:
If your recipe is already written out and you are not sure how wet it really is, the sourdough hydration calculator works it out, including the starter. A recipe with 500 g of flour, 320 g of water, 100 g of starter and 10 g of salt reads as 64% on paper but comes to 67.3% once the starter is counted.
When the crust is too hard
A crust that fights the knife on day one is usually thick and dry at the same time. The fixes above for thickness apply, and a few habits make a difference too:
- Cool it properly, then cover it. Let the loaf cool completely on a rack, then keep it cut side down on a board or in a bread bag. Left uncovered overnight, the crust keeps drying.
- Don’t leave it in the switched-off oven. Some recipes suggest this for extra crispness, but it mostly thickens and hardens the crust.
- Use a serrated knife. A sharp bread knife with a sawing motion handles a crackly crust far better than a straight blade.
If you want a softer crust on purpose, wrap the cooled loaf in a clean tea towel for an hour, or brush it with a little melted butter straight out of the oven.
Common crust mistakes
- Opening the oven repeatedly in the first 20 minutes. Each time lets steam and heat escape just when the loaf needs them most.
- Baking by the clock alone. Judge by colour and, if you like, by internal temperature. Recipe times assume someone else’s oven.
- Using a thin tray on a low shelf. The base burns and thickens while the top stays pale. Bake on a preheated pot, stone or steel on the middle shelf.
- Adding sugar to fix a pale crust. It browns faster, but it changes the bread. Check fermentation and oven heat first.
Crust questions
Why does my crust go soft a few hours after baking?
Moisture from the crumb moves outward as the loaf sits, and the crust absorbs it. It happens faster in humid weather and in plastic bags. Five minutes in a hot oven brings the crackle back.
Should I brush the loaf with water before it goes in?
It can help when you bake without a lid, because the extra moisture keeps the surface stretchy for a little longer. In a covered pot it makes little difference, since the loaf is already sitting in its own steam.
What are the small blisters on my crust?
Tiny bubbles on the surface usually come from a long, cold proof in the fridge. They are harmless and many bakers look for them. A loaf proofed at room temperature tends to have a smoother crust.
Is a very dark crust burnt?
Not usually. A deep reddish brown crust has more flavour than a golden one, and bakers often call it a bold bake. It is only burnt when parts turn black and taste bitter, which usually happens at the base or along the edges of the score first.